
Using the Vision Inpaint API
If you love using the Corcel Studio Inpaint feature, you might want to know a bit about how it works 'under the hood,' or want to build a similar feature in your application!
Here's a quick demo of how to use the Inpaint API to modify and update your own images and creations.
We'll start with this dragon flying over New York (created with Generate Ultra:

Let's remove the dragon, and instead have an invading alien space force:

Step by Step
-
First, you'll need an API key. It's free!
-
You'll need a start image. You can use the dragon image found here:
https://corcel.b-cdn.net/956c91da-4a20-46c6-b174-d6ec63d7ce90.webp -
Save the image locally to your computer.
-
To create the inpaint effect, we need to identify the region that is to be replaced. This is commonly referred to as a mask. The mask tells the AI which areas of the image should be modified. When using the inpaint Corcel app, you draw over the spaces that you wish to replace. In this example, we will open the image in the Mac Preview app, and draw big white rectangles over the dragon - obscuring it.
-
Open up Preview (or a similar image manipulation application), and open the dragon image
-
Make a copy, and name it dragonmask.tiff (we still need an original dragon for inpainting)
-
Now, add White rectangles to obscure the dragon. One big rectangle will work but will change more of the image. As seen below, I selected a bit more carefully with ~6-10 different rectangles:

-
Now, select Command-A to select all, and press delete. This removes the rest of the image, creating the mask. The black areas will not be modified, and the white areas will. Save this file locally on your computer:
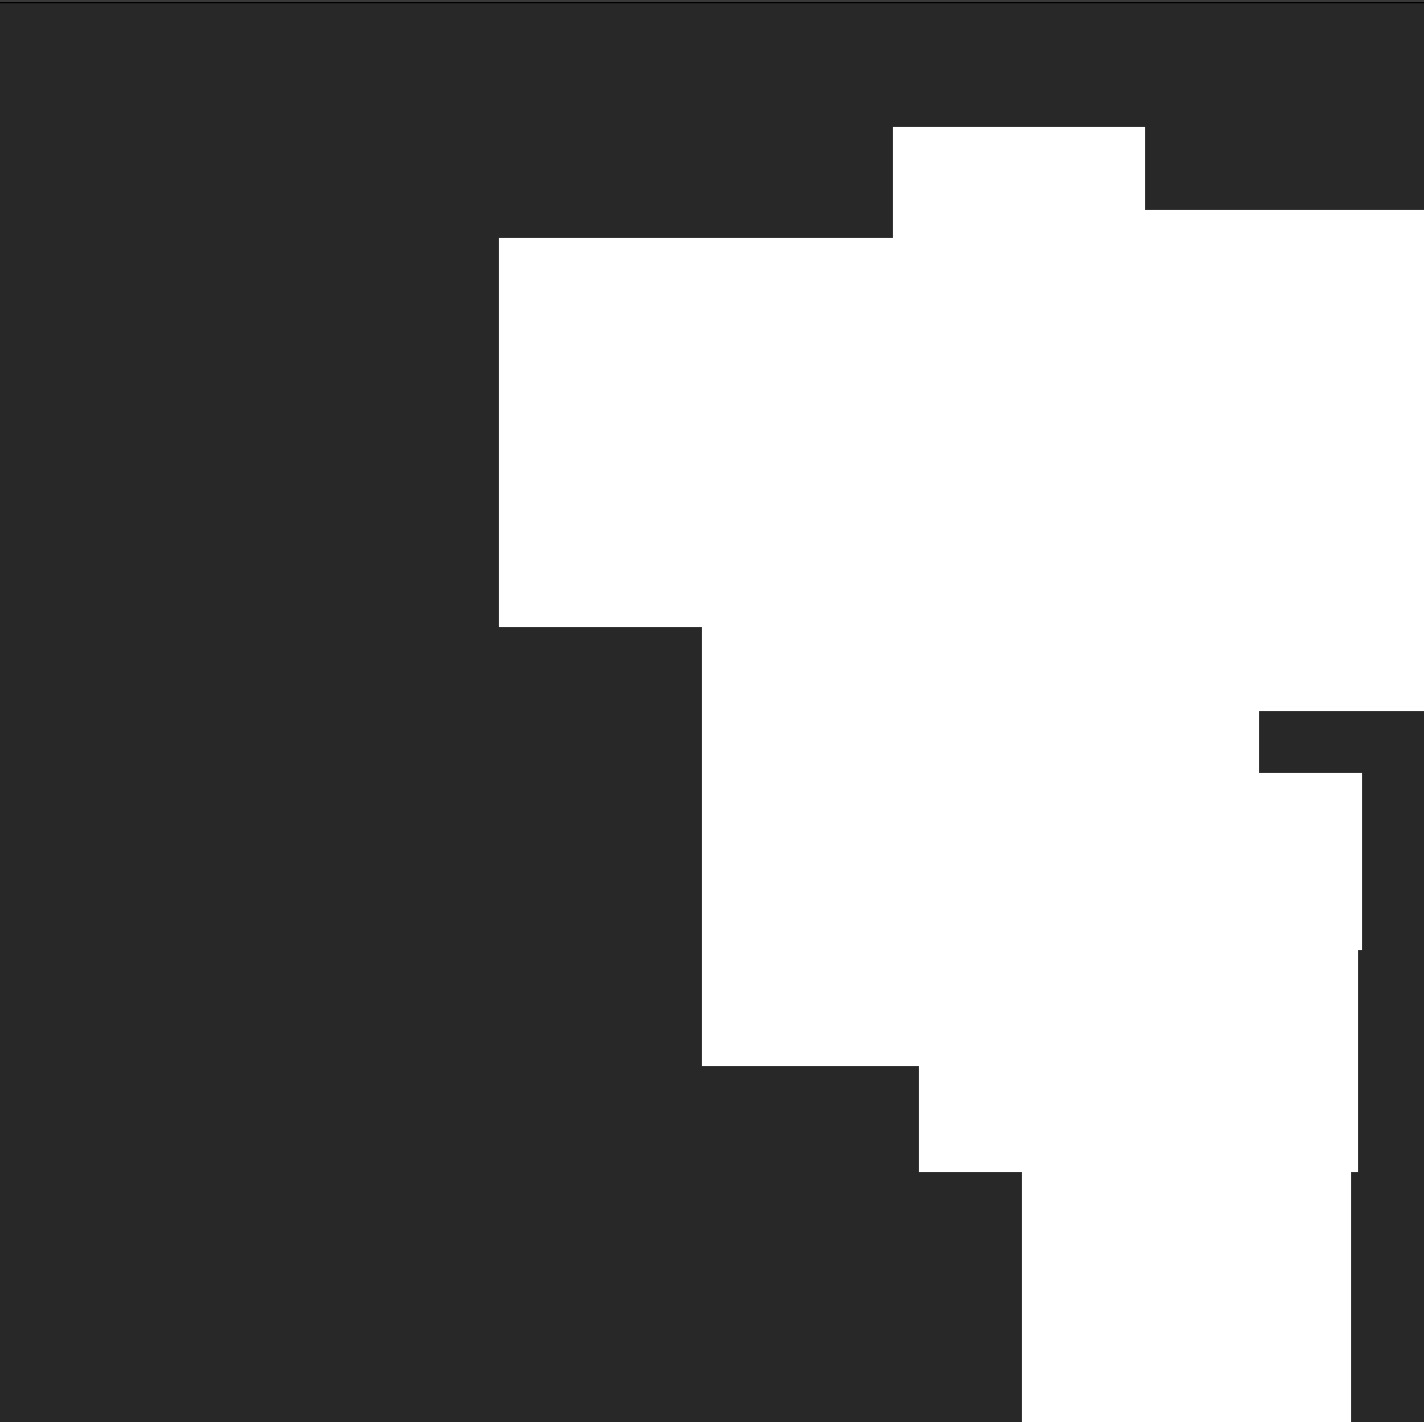
-
-
To use the Corcel Inpaint API, we must send the dragon and mask images to the API, but they must be base64 encoded.
- We will also need to send a prompt to the API. The prompt describes what is being created in the white area of the mask. In this case, "An invading alien space force of many differently sized ships flies in, shooting lazers of many colors down and to the left" is a description to match where the city is- making the lasers appear to attack New York.
from PIL import Image
import requests, json, base64
from io import BytesIO
import matplotlib.pyplot as plt


url = "https://api.corcel.io/v1/image/vision/inpaint"
image_path = "dragon.webp"
mask_path ="dragonmask.tiff"
prompt="An invading alien space force of many differently sized ships flies in, shooting lazers of many colors down and to the left"

# Open the image file in binary mode and read its contents
with open(image_path, 'rb') as image_file:
    binary_data = image_file.read()
# Encode the binary data to base64
encoded_data = base64.b64encode(binary_data)
# If you need the base64 data as a string, decode it
encoded_image_string = encoded_data.decode('utf-8')

# Open the mask file in binary mode and read its contents
with open(mask_path, 'rb') as image_file:
    binary_data = image_file.read()
# Encode the binary data to base64
encoded_data = base64.b64encode(binary_data)
# If you need the base64 data as a string, decode it
encoded_mask_string = encoded_data.decode('utf-8')

#create the API payload with the 2 B64 encoded images and the prompt
payload = {
    "cfg_scale": 4,
    "steps": 25,
    "engine": "kandinsky-2.2",
    "init_image": encoded_image_string,
    "mask_image": encoded_mask_string,
    "text_prompts": [{ "text": prompt }]
}
headers = {
    "accept": "application/json",
    "content-type": "application/json",
    "Authorization": <apikey>
}

response = requests.post(url, json=payload, headers=headers)
#get image URL from response
responseJSON = json.loads(response.text)
image_url = responseJSON['signed_urls'][0]

#print the URL
print(image_url)
#download the image and display it in the notebook
response_img = requests.get(image_url)
img = Image.open(BytesIO(response_img.content))

# Display the image
plt.imshow(img)
plt.axis('off')  # Hide the axis
plt.show()
What this code does
- We define the image file location (local on the computer), the mask file location, and the prompt to be used.
- The two images are opened and converted to B64 strings.
- The API is called. NOTE: replace <apikey> with your API Key. It should look like
"Authorization": "123-456-789" - The URL to the image is in the response. We print the URL but also display the image in the Jupyter Notebook.
Results
Here is the image created by the Inpaint endpoint:

Pretty impressive!
Start building your own applications with the Corcel API and share what you have built with the Corcel Discord
Updated 5 months ago